
Overlays in photography are images or textures that can be added to give extra dimension to your photos. I’ve had some limited experience adding them to photos. Many of the apps I use have a small set of overlays associated with each one. I was wanting to do some stuff with fire recently and didn’t have many choices with my current apps. This lead me to researching overlays on the internet. I found there is a whole business of selling overlays. Almost all of these overlays need software that uses layers as part of the editing process. The most common one is of course Photoshop. You can also use editors like Affinity, Luminar 4, and Procreate among others. I used a combination of these editors in my creative process.
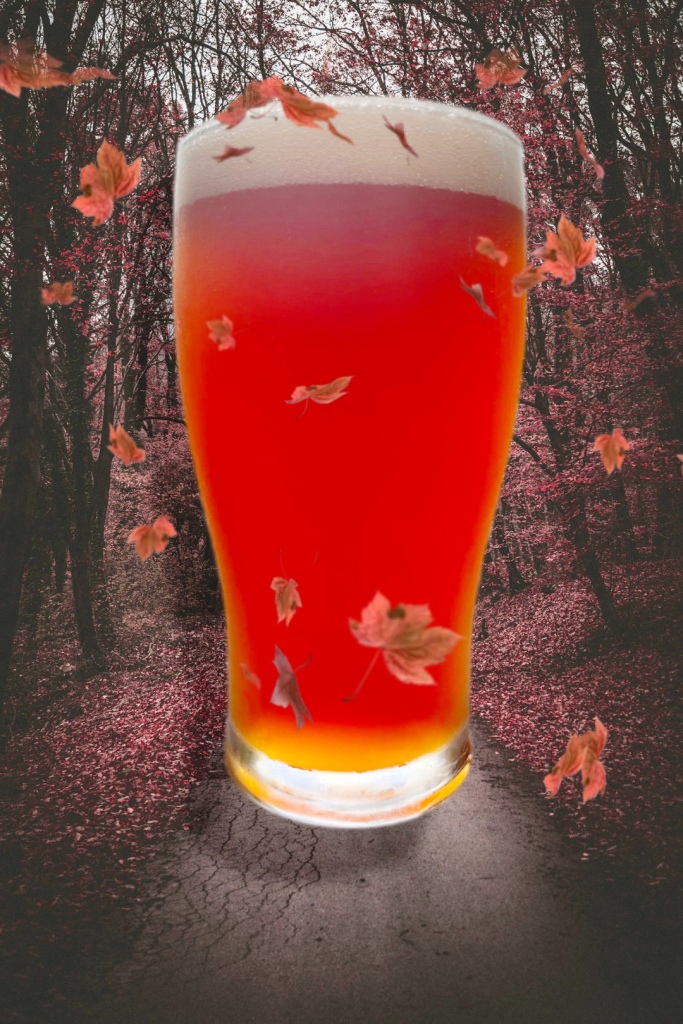
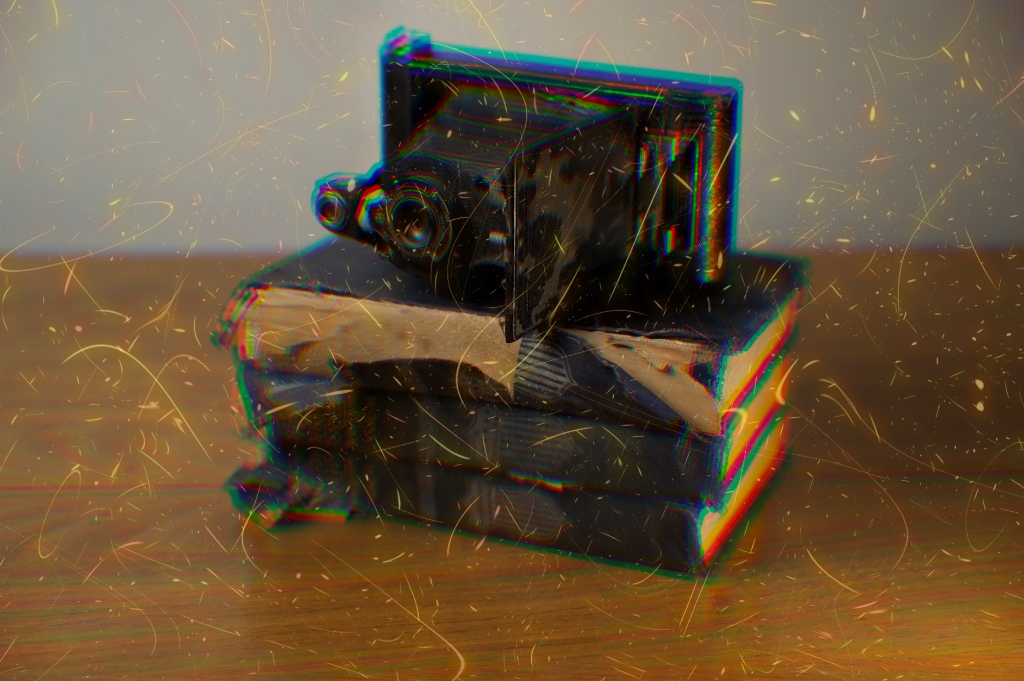
There are quite a few websites offering overlay downloads. I picked one that had what I was looking for and gave me the most bang for my buck. Packages of overlays run from $10 for basic to $200 for professional quality with commercial licensing applications. I was able to download about 15,000 to my desktop for about $50. 15,000 sounds like a lot but you basically get 400 green sparkles, 400 blue sparkles, 400 red sparkles etc. All of them are slightly different but not really. I was looking for something that offered falling leaves because it’s autumn, and fire because of the recent wildfires. I wish I was a little more computer literate. I basically have everything in one or two folders on my desktop that is not well organized. (I guess that’s on my to do list.)


Your pictures as usual are very well done. My two favorites are the eagle with the lightening and you with the HOT 🔥 newspaper. Keep up the good work, you are definitely improving
LikeLiked by 1 person